
The easiest way to add an issue to the backlog is from the issues page. You can also do this through the issue assignment modal (pop-up).
ActivateOS allows users to manage their issues and backlog efficiently. This tutorial will guide you through the simple steps to add an issue to the backlog and view it later.
Step 1: Adding an Issue to Backlog
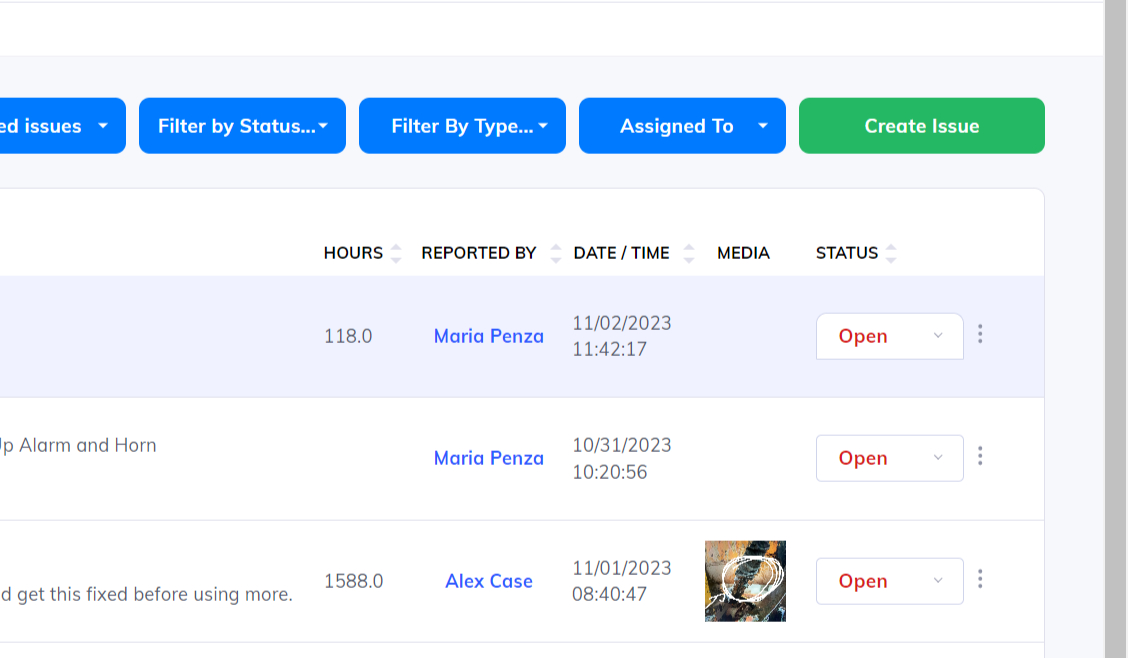
1. Access the issues page in ActivateOS.
2. Ensure that you are viewing your open issues.
3. Locate the issue you want to throw to the backlog.
4. Click on the down arrow next to the status of the issue.
Step 2: Moving an Issue to Backlog
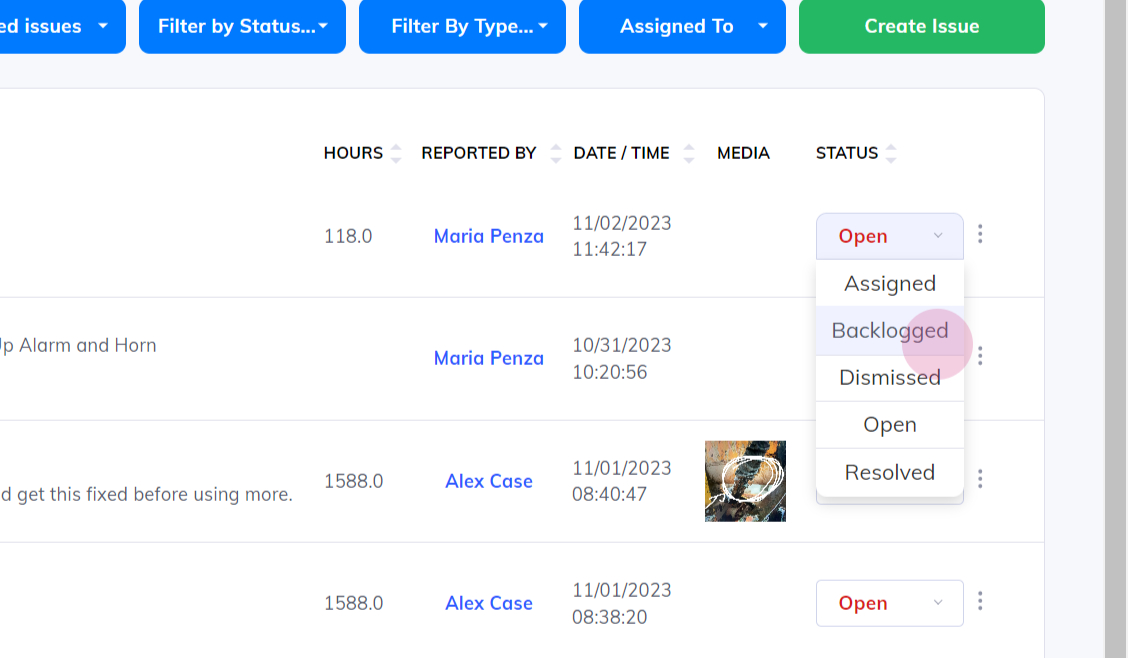
1. Identify the issue you want to move to the backlog.
2. Change the status of the issue from "open" to "backlogged".
3. The issue is now successfully thrown to the backlog.
Step 3: Viewing the Backlog
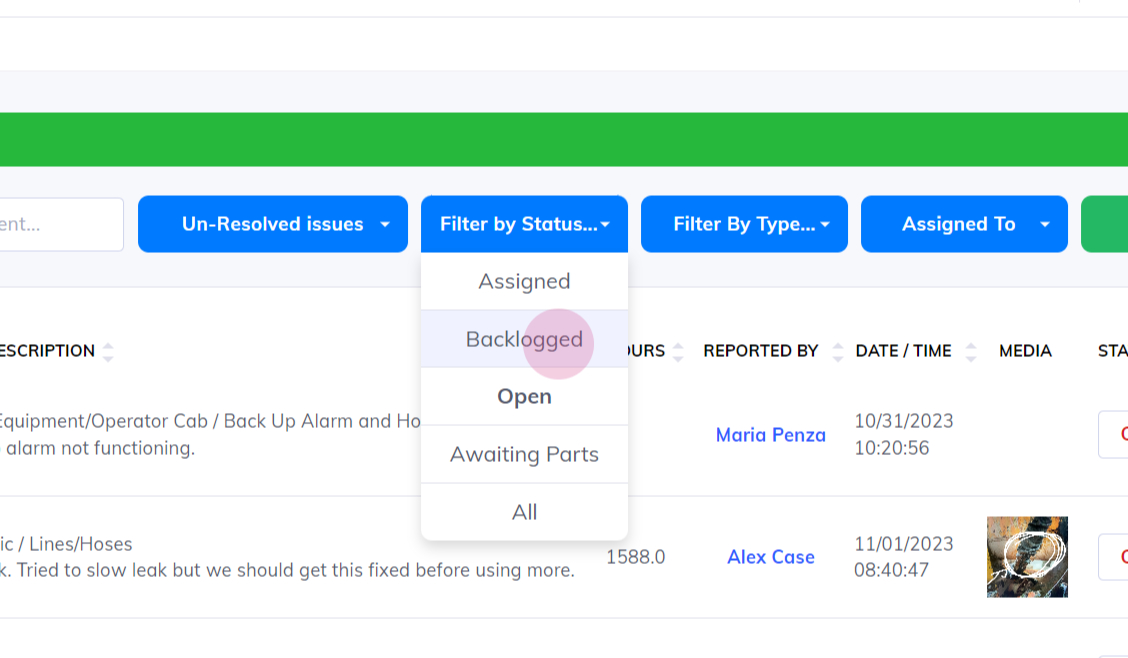
1. To view your backlog at any time, navigate to the filter options.
2. Look for the filter by status option and select "backlogged".
3. The view will now display all your backlog issues.
By following these simple steps, you can easily add an issue to the backlog in ActivateOS and view it whenever needed. Efficiently managing your backlog will help you stay organized and prioritize your tasks effectively.